Cooking meat well is one of those skills that sounds complicated but is really just a handful of concepts stacked on each other. Once you have the concepts, everything else follows — chicken, steak, pork chops, ground meat, roasts, all of it — because the same logic applies across the board.
The framework is three steps: preparation, heat, and rest. Let’s walk through each.
Step 1: Preparation
What you do before the meat hits the pan matters as much as what you do during cooking.
Dry It
Pat meat dry with paper towels before cooking. This sounds minor and isn’t. Wet meat steams in the pan instead of browning. You’ve had perfectly good chicken turn grayish and watery? Wet meat. Pat it dry and the same chicken turns golden and beautiful.
Salt It — and Early
Salt your meat at least 30 minutes before cooking, ideally longer (1–24 hours for thicker cuts). This is called dry brining, and it does something remarkable: the salt initially draws moisture out of the meat, then that moisture dissolves the salt and gets reabsorbed. The result is meat that is seasoned all the way through, not just on the surface, and that has better moisture retention during cooking.
For quick weeknight cooking, even 30 minutes makes a difference. For a thick steak or pork chop, salting the night before is transformative.
Bring to Room Temperature
Take large or thick cuts of meat out of the refrigerator 20–30 minutes before cooking. Cold meat hitting a hot pan lowers the pan temperature and produces uneven cooking — raw in the center, overdone on the outside. Room temperature meat cooks more evenly.
(Note: For food safety, don’t leave meat out more than 1–2 hours, and never in a very warm environment.)
Step 2: Heat
This is where the cooking happens, and the most important concept is: match the heat level to the thickness and tenderness of the cut.
Thin Cuts: High Heat, Fast
Thin chicken cutlets, fish fillets, pork chops under ½ inch, thin steaks, ground meat — these cook fast and hot. High heat creates browning (flavor) before the inside overcooks.
- Get the pan very hot before the meat goes in
- Don’t move the meat for the first 2–3 minutes — let the crust develop
- Flip once when it releases easily from the pan (it sticks at first, then releases when properly seared)
- Cook the second side, then check internal temperature.
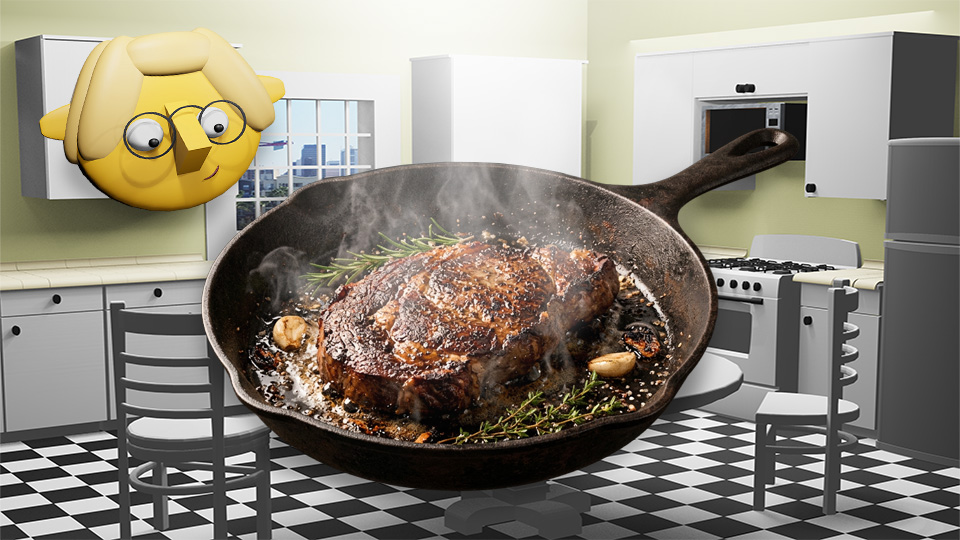
Thick Cuts: Sear Then Finish in Oven
A thick steak or pork chop or chicken breast needs to be cooked through without burning the outside. The technique:
- Sear in a hot, oven-safe pan (cast iron is ideal) for 2–3 minutes per side until well browned
- Transfer the pan directly to a 375°F oven and cook until internal temp is reached
This is called the “reverse sear” when done in the opposite order (oven first, sear last) — that version produces even more consistent results.
Tough Cuts: Low Heat, Long Time
Brisket, short ribs, pork shoulder, lamb shanks — these are cuts with a lot of connective tissue and muscle. High heat makes them tough. Low, slow heat (275–325°F for hours, or low and slow in a braising liquid) breaks down collagen into gelatin, producing meat that is tender to the point of falling apart.
These cuts are forgiving precisely because time is the variable, not precision — they’re done “when they’re done,” which you’ll know because a fork or spoon pressed into them meets no resistance.
The Temperature Guide (Because This Is Everything)
Get a meat thermometer. Use it every time until temperatures are second nature.
| Meat | Safe Temperature | Notes |
|---|---|---|
| Chicken (whole/parts) | 165°F | Pull at 160°F — it coasts up |
| Ground beef/pork | 160°F | No exceptions |
| Beef steak (medium rare) | 130–135°F | Red center, warm |
| Beef steak (medium) | 140–145°F | Pink center |
| Pork chops/loin | 145°F | A little pink is fine and correct |
| Fish (most types) | 130–140°F | Flakes easily, opaque |
Step 3: Rest
When you take meat off heat, let it rest before cutting. This is not optional.
Why: When meat cooks, the heat drives moisture toward the center of the cut. When you let it rest, that moisture redistributes throughout the meat. Cut immediately and the moisture rushes out onto the cutting board. Let it rest and it stays in the meat.
How long to rest: – Thin cuts (chicken breast, pork chop, steak): 5 minutes – Thick roasts: 10–20 minutes – Large roasts (whole chicken, turkey breast): 20–30 minutes
Tent loosely with aluminum foil to keep it warm during resting. Don’t wrap tightly — you’ll trap steam and soften the crust.
A Few Specific Notes by Meat Type
Chicken thighs vs. breasts: Thighs have more fat and connective tissue. They’re more forgiving — harder to overcook, more flavorful when cooked properly. If you’re a beginning cook, start with thighs. Breasts are leaner and can go from done to dry very quickly.
Pork: Modern pork is safe to eat at 145°F, which means a little pink in the center is totally fine. You don’t need to cook pork until it’s white all the way through. Overcooked pork chops are unfortunately common.
Steak: The quality of the steak matters. A well-cooked choice-grade ribeye will always be more satisfying than a poorly cooked filet. Buy the best you can afford, keep it simple.
Ground meat: Cook to 160°F without exceptions. Ground meat has more surface area and exposure than whole cuts, which changes the safety calculus.
🛒 Gear Worth Having
- ThermoWorks Thermapen ONE — The fastest, most accurate instant-read thermometer available. Worth every penny.
- Lodge 12-inch Cast Iron Skillet — Goes stovetop-to-oven seamlessly, gets blazing hot, and lasts forever.
- Reynolds Wrap Heavy Duty Aluminum Foil — For tenting during rest. The heavy duty kind doesn’t tear when you’re working with hot pans.
- OXO Roasting Pan with Rack — For roasting whole chickens, large cuts, and anything that benefits from airflow underneath.
- The Meat Eater’s Guide by Serious Eats — Science-forward, technique-focused, deeply practical.
As an Amazon affiliate, I earn from qualifying purchases. Thank you for supporting TumbleBump.
Recommended Reads
- The Maillard Reaction: Why Browned Food Tastes Better
- The “Is It Done?” Checklist
- Is it Burnt or “Cajun”? The Art of Scraping
Posted on Skippity | COOKS Category
TumbleBump is part of the John D Reinhart content family. Writer, illustrator, videographer, and accidental filmmaker — find the whole story at JohnDReinhart.com.
21001
©2026 John D Reinhart/TumbleBump.com – all rights reserved
