
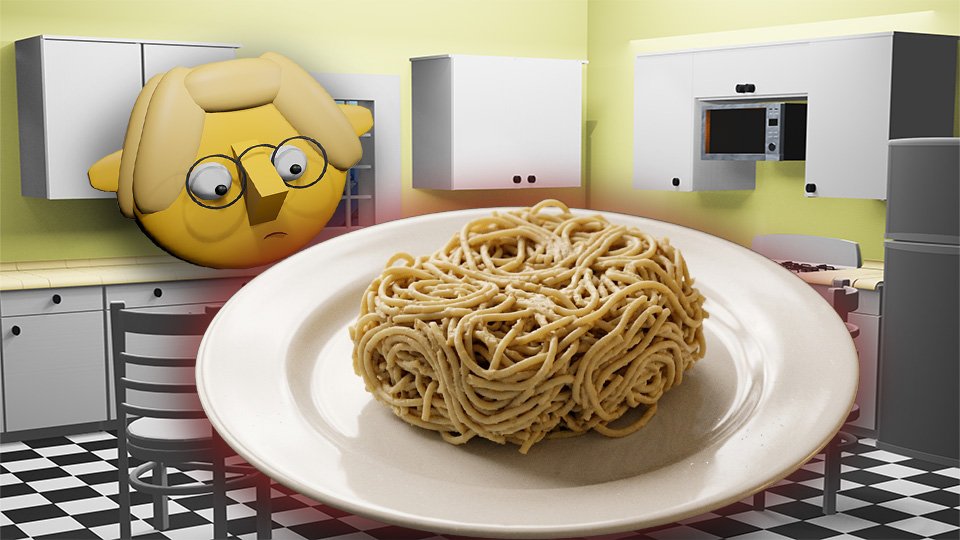
My Pasta Is a Sticky Brick

You drained the pasta, turned around for two minutes, and it has fused into a single mass. This happens to everyone and has a specific cause — and specific fixes. Here’s why pasta sticks, how to rescue it right now, and how to make sure it never happens again.

Sticky pasta is the result of starch, timing, and one very common draining mistake. Once you understand the cause, both the fix and the prevention become obvious.


Why Pasta Sticks

Fresh-cooked pasta is covered in a layer of gooey, sticky starch that was leached from the pasta during cooking. When you drain the pasta and let it sit — especially if it cools — this starch becomes an effective adhesive, gluing the strands or pieces together into a unified mass.

The mistake that makes it worse: rinsing pasta after draining. Many people rinse pasta to stop cooking or to cool it, which removes the starchy coating. This sounds like it would help with sticking, but rinsing also removes the starchy coating that helps sauce adhere to pasta. The pasta is slippery, sauceless, and then sticks anyway as it cools. Rinsing cooked pasta is almost never the right call.


The Actual Prevention

Get the pasta into sauce immediately. Freshly drained pasta tossed immediately with sauce doesn’t stick — the sauce coats the strands before they can bond to each other. This is why professional cooks move hot pasta directly into the pan with the sauce, using a bit of pasta water to help everything come together. Timing is everything.

Reserve pasta water before draining. Starchy pasta water (it looks slightly cloudy and milky) is the secret sauce of pasta cooking. A splash tossed with drained pasta prevents sticking, and more added to the sauce makes it clingy and cohesive.

Add a small amount of olive oil if holding. If you need to hold cooked pasta before saucing — for a buffet or timed dinner — toss it with a teaspoon of olive oil after draining to coat the strands lightly. This is a short-term fix that works for 20–30 minutes. Longer than that, the pasta will still begin to clump.


Rescuing the Brick Right Now

If the pasta is already stuck:

The hot water splash: Bring a small amount of water to boil in the pot. Add the stuck pasta and toss briefly — 30–45 seconds — in the hot water. The heat and water loosen the bonds. Drain immediately and get it into sauce.

The sauté method: Add the stuck pasta to a pan with a tablespoon of olive oil or butter and a splash of water over medium heat. Toss with tongs as it heats. The steam loosens the stuck strands while the oil coats and separates them. This works well and has the advantage of also adding flavor.

The pasta water rescue: If you remembered to save pasta water — pour a few tablespoons over the stuck pasta and toss. The warm, starchy water rehydrates the bonding layer and lets the strands separate.


The Pasta-to-Sauce Ratio Problem

Sometimes pasta sticks not from sitting too long but because there isn’t enough sauce to coat it. The pasta absorbs some of the sauce and the rest sits dry. This is a different problem with a different fix: more sauce, or pasta water stirred into the existing sauce to add volume and body.


Cold Pasta for Tomorrow: Different Rules

If you’re intentionally storing cooked pasta for next day use:

Toss with a teaspoon of olive oil after draining and let it cool completely before refrigerating. The oil keeps the strands from sticking in storage. When reheating, add a splash of water to the pan and warm over medium heat, tossing to loosen. Don’t microwave cold pasta without added moisture — it will be a brick again and dry out.


🛒 Gear Worth Having

As an Amazon affiliate, I earn from each qualifying purchase. Thank you for supporting TumbleBump. 


Related Reads


Posted on TumbleBump | OOPS Category

TumbleBump is part of the John D Reinhart content family. Writer, illustrator, videographer, and accidental filmmaker — find the whole story at JohnDReinhart.com.

26006

©2026 John D Reinhart/TumbleBump.com – all rights reserved
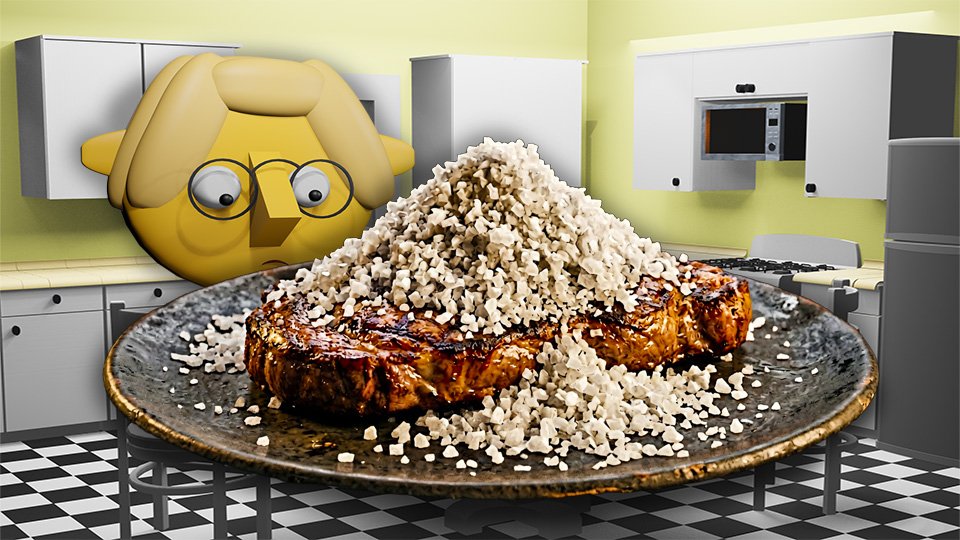
I Oversalted It: The Potato and Acid Rescue

Too much salt is one of the most common cooking mistakes and one of the most misunderstood to fix. The potato trick is real (sort of). The acid trick is also real (differently). Here’s what actually works, what’s a myth, and how to rescue an oversalted dish with the tools you have right now.

Oversalting is one of the most common cooking crises, and it’s surrounded by more folklore than almost any other kitchen problem. The advice is plentiful and ranges from genuinely useful to completely ineffective.

Let’s sort it out.


The Honest Assessment First

Before reaching for any fix, be clear about how severe the oversalting is.

Mildly too salty: Just a bit over — food that tastes more seasoned than intended but isn’t actively unpleasant. This is the easiest situation and has the most options.

Significantly oversalted: Noticeably too salty, the kind where the salt is the first and dominant flavor and the food tastes like the ocean. This requires more intervention.

Catastrophically oversalted: The kind where you genuinely cannot eat it without wincing. Some of these situations are beyond rescue and are more honestly handled by cutting losses and starting over or significantly redirecting the dish.


The Potato Method: Partially True

The potato myth says: drop a raw potato into an oversalted soup or stew, let it simmer, remove it, and it absorbs excess salt. This is partially true and partially myth.

What potatoes actually do: A potato added to a soup does absorb some salt — specifically, it absorbs the liquid it sits in, which happens to contain salt. It is not a selective salt sponge; it’s a porous starch that absorbs liquid with whatever’s dissolved in it, including salt, in proportion to what’s in the soup.

What this means practically: A potato will absorb some of the oversalted broth and reduce the total volume of oversalted liquid. But when you remove the potato, you’ve removed a volume of salty soup, which is almost the same as just ladling some of the soup out and discarding it. The concentration hasn’t changed much.

When it actually helps: If you then add liquid to compensate for what the potato absorbed — water, unsalted broth — the concentration is reduced. This works. But you could also just add unsalted liquid directly without the potato intermediate step.


What Actually Works

Dilution (the most reliable fix): Add more of the unsalted components. More water or unsalted broth to a soup. More tomatoes to a sauce. More cream. More vegetables. More beans or lentils. You’re spreading the same amount of salt across a larger volume, which reduces the concentration. This is the most reliable and consistent fix.

Add an acid: A squeeze of lemon juice, a splash of vinegar, a spoonful of yogurt. Acid doesn’t reduce the amount of salt in the dish, but it activates different taste receptors and shifts the overall flavor profile in a way that makes the saltiness feel less dominant. This is not a fix for severely oversalted food, but it’s a genuinely effective tool for mildly oversalted dishes where the balance just needs adjusting.

Add sweetness: A small amount of sugar, honey, or coconut milk provides a counterpoint to salt that reduces the perception of saltiness without changing the actual concentration. Again, a tool for mild oversalting, not a rescue for severe cases.

Add fat: Butter, cream, olive oil, or coconut milk add richness that softens the perception of saltiness and rounds out the flavor. A butter finish to an oversalted pan sauce can bring it back from the edge.

Add more of everything else (bulk up the dish): The most effective fix for stews, soups, and curries is to add more of everything — more vegetables, more protein, more unsalted liquid — transforming what would have been four portions into six, and simultaneously diluting the salt concentration.


By Dish Type

Soups and stews: Add unsalted broth, water, or dairy. Add a potato (which will absorb some liquid; replace with unsalted liquid when you remove it). Add more vegetables.

Pasta sauces: Add more tomatoes, cream, or pasta water. Serve over plain pasta with no added salt in the water.

Meats and fish: The salt is already in; if the exterior is over-seasoned, you can scrape or blot the surface. If cooked through, serve with something acidic (lemon, pickle) or creamy to balance.

Rice and grains: Not fixable after cooking; the salt is absorbed. Use them in a mixed dish where other unsalted components dilute the total saltiness.

Salad dressings: Add more oil, more citrus, more of the acidic component without additional salt.


Prevention: The Build-Slowly Approach

Season in stages throughout cooking, tasting after each addition. Most oversalting happens from a single large addition — a heavy hand with the salt shaker at the end, when the dish has already reduced and concentrated. Salt before and during, not only at the end, and you build control rather than relying on correction.


🛒 Gear Worth Having

As an Amazon affiliate, I earn from each qualifying purchase. Thank you for supporting TumbleBump. 


Related Reads

TumbleBump is part of the John D Reinhart content family. Writer, illustrator, videographer, and accidental filmmaker — find the whole story at JohnDReinhart.com.

Posted on TumbleBump | OOPS Category

26004

©2026 John D Reinhart/TumbleBump.com – all rights reserved

What Causes My Soggy Bottom

A soggy bottom is one of baking’s most demoralizing outcomes — the cake looks fine from above and reveals its failure only on the plate. Here’s every cause of a soggy baked bottom, which one you’re dealing with, and the fixes for each situation.

The soggy bottom — that dense, undercooked, damp layer at the base of a cake, pie, or baked good — is one of baking’s more frustrating problems because it hides until serving and often seems mysterious. But it has specific, identifiable causes, and most of them are preventable once you know what they are.


Cause One: The Oven Temperature Was Wrong

Too low: A low oven doesn’t produce the initial burst of heat that sets the structure of the bottom of the bake. The bottom stays in contact with the pan, which conducts heat slowly at low temperatures, and the batter in contact with the pan remains soft and wet while the top and sides set.

Too cool overall: Some ovens run significantly cooler than their dial suggests. A calibration difference of 25–50°F is common and enough to leave the bottom of a bake undercooked consistently.

The fix: Get an oven thermometer ($10–15) and know your oven’s actual temperature. Adjust accordingly. Most ovens benefit from being set 25°F higher than the recipe to compensate.


Cause Two: The Pan Material or Position Was Wrong

Dark pans: Dark metal absorbs heat more readily than light metal and can actually cause the bottom to cook faster — but dark pans also have a different effect with certain types of batters where the bottom sets before the interior, trapping steam that creates a dense layer.

Glass pans: Glass conducts heat more slowly than metal and heats unevenly. For a recipe calling for a metal pan, using glass often under-bakes the bottom.

Too high in the oven: Most baking should happen in the lower third of the oven, where the bottom heat is more direct. Baking on a rack that’s too high means the bottom of the pan receives less heat than the top of the bake.

The fix: Use the pan material the recipe specifies. Place baked goods in the lower third of the oven for cakes and pies.


Cause Three: Too Much Liquid in the Batter

A batter with too much liquid takes longer to set throughout, and the bottom — which is in contact with the pan and has the least direct oven heat — is the last part to dry out.

Causes of excess liquid: – Measuring flour incorrectly (too little flour relative to liquid) – Very large eggs when medium was called for – Wet add-ins (fresh fruit, yogurt, very moist vegetables) – Using full-fat dairy when low-fat was specified (or vice versa, depending on the recipe)

The fix: Accurate measuring (kitchen scale over volume), correct egg size, squeezing or draining moisture from wet add-ins.


Cause Four: Underbaked

Sometimes the bottom is soggy simply because the cake wasn’t baked long enough. The toothpick test only checks the top portion of a deep bake; the bottom can still be wet when the center tests clean.

The fix: Test for doneness at multiple depths. Press lightly on the center of the top of the cake — it should spring back rather than leave a dent. If it dents, it needs more time.. A thermometer inserted at a 45-degree angle toward the bottom of a cake reads 200–210°F when fully baked.


Cause Five: Steam From Below (Pie Specifically)

Pies get soggy bottoms when the filling releases moisture that steams the bottom crust from the inside. This is especially common with fruit pies that haven’t been properly thickened.

The fixes: – Blind bake the bottom crust (bake just the empty crust partially before adding filling) – Thicken the filling adequately (enough starch to set the fruit juices) – Bake on the lowest oven rack so the bottom crust gets direct heat – Sprinkle dry breadcrumbs or semolina on the blind-baked crust before adding filling — these absorb excess moisture


Rescuing a Soggy Bottom After Baking

If the cake or bake is out of the oven and the bottom is soggy:

Put it back in. If the interior is otherwise correct, remove it from the pan, invert onto a baking rack, and return to the oven directly on the rack at a slightly lower temperature (325°F) for 10–15 minutes. The direct heat from the element can help dry the bottom without burning the top.

Accept and adapt. A soggy-bottomed cake served sliced (bottom hidden) is still edible. Top generously with frosting, whipped cream, or fruit compote. The presentation carries the day.


🛒 Gear Worth Having

As an Amazon affiliate, I earn with each qualifying purchase. Thank you for supporting TumbleBump.


Related Reads

Posted on TumbleBump| OOPS Category

TumbleBump is part of the John D. Reinhart content family. Writer, illustrator, videographer, and accidental filmmaker — find the whole story at JohnDReinhart.com.

26003

©2026 John D Reinhart/TumbleBump.com – all rights reserved
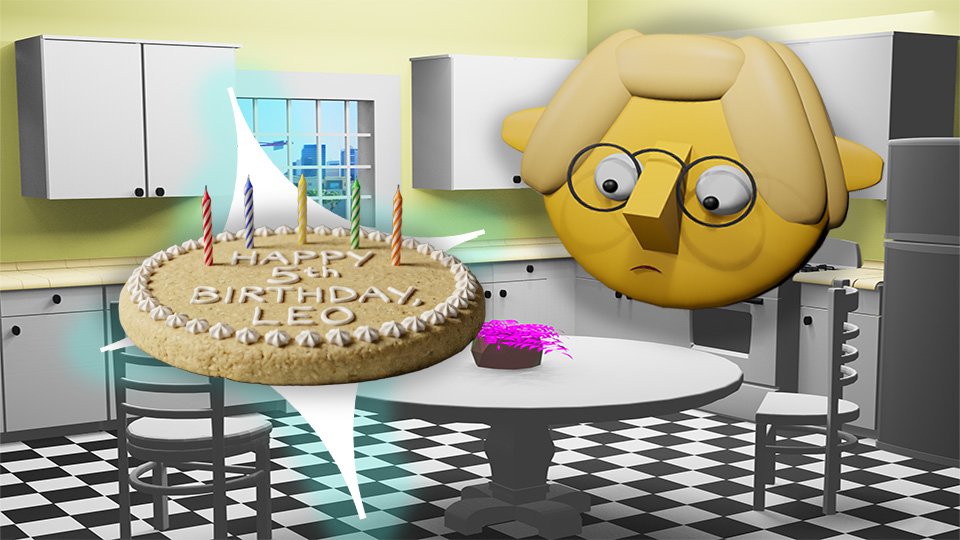
Baking Soda vs. Baking Powder: The Mix-Up That Ruins Muffins

They live next to each other, they look alike, and one is three times more powerful than the other. Baking soda and baking powder are not the same thing. Here’s why that matters.

Mistaking baking soda for baking powder is like bringing a trombone to a violin recital. Sure, it’s the same music — but.

They sit next to each other on the shelf. The containers look nearly identical. Neither one is labeled with the kind of urgent warning that would actually help in the middle of a recipe. And yet they are categorically, chemically, functionally different things — one is about three times more powerful than the other — and using the wrong one will produce baked goods that are flat, metallic, soapy, or all three simultaneously.

This happens to everyone. Here’s why it happens, what’s actually going on inside the batter, and how to never do it again.

🧪 Baking Soda: The One That Needs a Partner

Baking soda is pure sodium bicarbonate. A base. On its own, sitting in the bowl, it does absolutely nothing. It is waiting. It needs an acid.

Why? When sodium bicarbonate meets an acid — buttermilk, yogurt, lemon juice, vinegar, brown sugar, honey, cocoa powder, molasses — it reacts and produces carbon dioxide gas. That gas is what makes baked goods rise. No acid, no gas, no rise. It’s a partnership and baking soda is very much the one who can’t show up alone.

The other thing to know: the reaction starts immediately. The moment baking soda meets its acid, the gas production begins. This is why recipes using baking soda tell you to get the batter into the oven without dawdling — you’re working with a reaction already in progress.

And it is three to four times more potent than baking powder. This is not a small difference. This is a trombones-and-violins difference.

🎂 Baking Powder: The One That Came Prepared

Baking powder is a committee. It contains baking soda, a dry acid (usually cream of tartar), and a starch to keep everything from reacting prematurely in the container. It brought everything it needs.

Why does this matter? Because baking powder doesn’t need the recipe to supply an acid — it already has one. Use it in recipes that don’t otherwise contain acidic ingredients and it works perfectly on its own.

It also works in two stages: once when it gets wet (in the batter) and again when it gets hot (in the oven). This is the “double-acting” claim on most packaging, and it’s real. The double reaction gives baked goods a more sustained, even rise than the immediate single blast of baking soda.

Slower, gentler, self-contained. The reliable one. The one that thought ahead.

💥 What Actually Happens When You Mix Them Up

The results are specific and consistently unpleasant:

  • Used baking soda when powder was called for: No acid in the recipe means the baking soda has nobody to react with. It sits there, inert, contributing nothing to the rise and everything to a metallic, soapy aftertaste. Dense, flat, vaguely medical-tasting baked goods. Not the goal.
  • Used baking powder when soda was called for: The recipe’s acid reacts with the baking powder’s built-in acid in ways nobody planned for, producing off flavors. And since baking powder is far less potent than soda, the leavening is significantly weaker. Flat and odd-tasting. A double disappointment.
  • Used too much baking soda: Bitter, soapy, metallic. The excess that doesn’t react stays in the finished product as unreacted base and announces itself loudly on the palate. The goods may also rise dramatically and then collapse, which is at least visually interesting.
  • Used too much baking powder: Slightly bitter and tinny from excess acid and leavening. Also prone to the rise-and-collapse situation. The oven giveth and the oven taketh away.

🔍 How to Tell Them Apart Mid-Recipe

If you’re already in the middle of things and genuinely not sure which container you grabbed:

  • The taste test. Tiny pinch on the tongue. Baking soda tastes strongly bitter and soapy — unmistakably unpleasant. Baking powder tastes mildly bitter with a slight sourness from the acid component. Unpleasant in different ways. Reliable test.
  • The water test. Drop a small amount into hot water. Baking soda does almost nothing on its own — remember, it needs an acid. Baking powder fizzes actively because the hot water triggers its built-in acid. One bubbles, one doesn’t.
  • The label. Both containers have labels. Read them. This is the obvious solution that gets skipped in the heat of the moment every single time.

🔄 Can You Substitute One for the Other?

In a pinch, yes — imperfectly but functionally:

  • Baking powder in place of baking soda: Use three times the amount. One teaspoon of baking soda becomes three teaspoons of baking powder. The result may be slightly more bitter and the texture slightly different, but it will rise and it will be edible.
  • Baking soda in place of baking powder: Use one-third the amount and add an acid to the recipe — a quarter teaspoon of cream of tartar per quarter teaspoon of baking soda works well. More complicated, less reliable, but doable in a genuine emergency.

Neither substitution is perfect. Both beat starting over if you’re already committed.

🧹 Prevention (Embarrassingly Simple)

  • Label them. “SODA” and “POWDER” in large letters on masking tape. Ten seconds of effort, zero future mix-ups.
  • Different containers. Some cooks keep one in a round container and one in a square one. Instant tactile distinction even when you’re not paying full attention.
  • Check freshness. Both go stale and a stale leavener is only slightly better than the wrong one. Test baking soda by dropping a pinch into hot water with a splash of vinegar — vigorous bubbling means it’s good. Test baking powder by dropping a teaspoon into hot water — it should foam. Flat reaction means it’s time to replace.

🛒 Worth Having

  • Arm & Hammer Baking Soda 2-Pack — Fresh baking soda on hand and a spare. Replace every six months for baking use. The fridge deodorizer box and the baking box are different jobs — don’t confuse those either.
  • Clabber Girl Baking Powder — Reliable, widely available, and it has a date on the bottom. Check it. Replace annually. It’s not expensive and stale baking powder is just expensive disappointment.
  • OXO Good Grips Pop Containers small set — Store each in a different shaped airtight container, label them clearly, and the mix-up becomes physically impossible. Problem solved at the storage level.
  • Bob’s Red Mill Aluminum-Free Baking Powder — For those who prefer no aluminum in their leavening. Eliminates the slightly tinny taste that can appear at higher doses. Worth knowing about.
  • BraveTart by Stella Parks — The best book on baking science for home cooks. Parks explains not just what to do but why — which means mix-ups like this stop happening because you actually understand what’s going on in the bowl.

As an Amazon affiliate, I earn from each qualifying purchase. Thank you for supporting TumbleBump.

✨ The Short Version

Baking soda needs an acid. Baking powder brought its own. One is three times stronger than the other. Using the wrong one produces flat, metallic, soapy results that no amount of frosting will fix.

Label the containers. Check the freshness. Read the label before you grab.

And if the muffins come out flat anyway — they crumble beautifully over yogurt. Every baking disaster has a plan B.

📚 Related Reads

TumbleBump is part of the John D. Reinhart content family. Writer, illustrator, videographer, and accidental filmmaker — find the whole story at JohnDReinhart.com.

26012

©2026 John D Reinhart/TumbleBump.com – all rights reserved
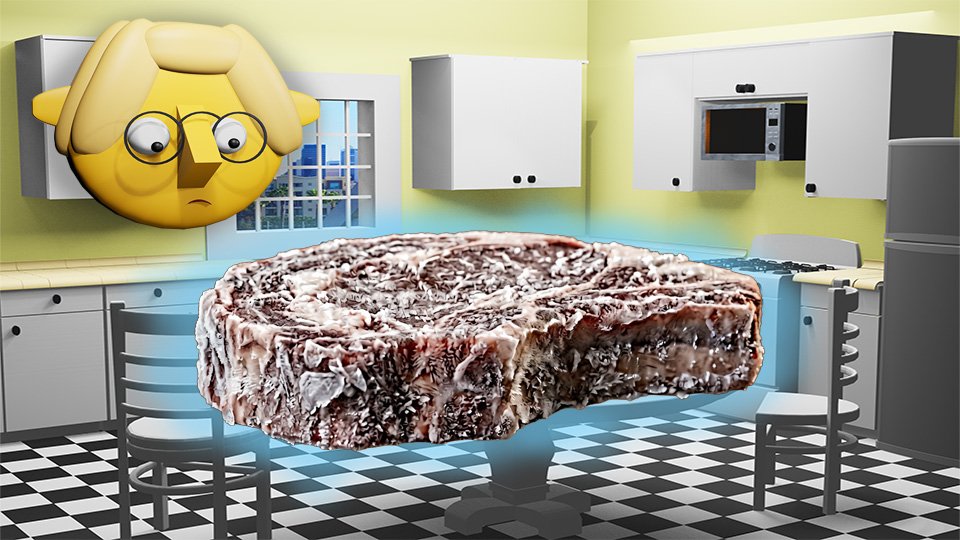
You Forgot to Defrost. Here’s How to Not Ruin Dinner.

It’s 6pm. The steak is a frozen brick. Dinner was supposed to be in an hour. Here’s what to do — the safe options, the fast options, and the one option that looks tempting but will make you regret it — ranked by speed and sanity.

This is not a crisis. This is a logistics problem, and logistics problems have solutions. The key is understanding “why” each solution works — because once you get the logic, you’ll never panic about a frozen chicken breast again.

The underlying principle behind all of this: bacteria multiply rapidly between 40°F and 140°F. That’s the danger zone. Every thawing method is really just a strategy for getting meat from frozen to cooked without spending too long in that range. Keep that in mind and everything else makes sense.

There are roughly seven-gazillion YouTube videos for each of these methods. The mission here is to help you see what those different methods are.

🔥 Option One: Just Cook It Frozen (Fastest, Genuinely Works)

Here’s the thing nobody tells you: you don’t always have to thaw meat first. Many proteins cook perfectly well from frozen — the result is slightly different from thawed-then-cooked, but often completely indistinguishable on the plate.

Why it works: the oven or pan simply does the thawing and cooking in one continuous process. The exterior thaws first and starts cooking while the interior catches up. The logic is sound. The math just requires more time — roughly 50% longer than you’d use for thawed meat — and a thermometer to confirm you got there.

  • Chicken thighs and breasts — oven at 400°F, straight from frozen, more time than usual, thermometer to 165°F at the thickest part. Works reliably.
  • Ground meat — frozen block into a pan on medium heat. As the exterior thaws, break it apart and keep working toward the center. Takes longer, works perfectly for pasta sauce or tacos where texture isn’t precious.
  • Fish fillets — a quick rinse under cold water removes ice crystals, then cook as normal with a few extra minutes. Thin fillets from frozen are a genuinely good meal. Don’t let anyone tell you otherwise.
  • Sausages and meatballs — excellent from frozen. Bake or simmer, add time, done.

What doesn’t work from frozen: thick steaks and pork chops. The exterior will be fully cooked before the interior has thawed, producing the specific culinary horror of charred outside, raw inside. Don’t do this to yourself or the steak.

💧 Option Two: Cold Water Thaw (30–60 Minutes, The Smart Move)

When you have a little time and want properly thawed meat, this is the method. Drop the sealed packaging into a bowl of cold water, change the water every 30 minutes. Done in under an hour for most cuts.

Why cold water and not hot? This is the question that unlocks the whole thing. Hot water thaws the exterior fast — but fast means the outer surface rockets through the danger zone while the interior is still frozen. You’ve created a situation where part of your meat has been sitting at bacteria-friendly temperatures for an extended period. Cold water conducts heat into the meat much faster than air, but slowly enough that the surface stays below the danger zone while the interior catches up. It’s the Goldilocks method. Fast enough to be useful. Safe enough to actually work.

The one rule: cook immediately after cold water thawing. Don’t thaw it and then put it back in the fridge for later. The window is now.

🌀 Option Three: Microwave Defrost (10–20 Minutes, Handle With Care)

The microwave defrost setting exists for exactly this situation and it works — imperfectly, but it works.

Why imperfectly? Microwaves heat unevenly. Thin edges and corners thaw faster than thick centers, which means some spots can start actually cooking while other parts are still frozen. The gap between “almost thawed” and “accidentally cooked the outside” is narrow and the microwave doesn’t care about your dinner timeline.

The workaround: use the defrost setting, check every two or three minutes, rotate and flip, and pull it out before it’s fully thawed. Let cold water finish the last bit. Then cook immediately — microwave-defrosted meat has been through enough temperature fluctuation that it should go straight into the pan.

Best for thin cuts where the uneven heating problem is smaller. Less useful for anything thick.

🚫 The Option That Sounds Fine But Isn’t: The Counter

Leaving frozen meat on the counter to thaw at room temperature. This is the method that food safety professionals lose sleep over, and here’s the exact reason why:

The exterior of the meat thaws first and immediately enters the danger zone — above 40°F, where bacteria multiply rapidly. While the interior is still frozen and perfectly safe, the outside has been sitting at room temperature accumulating a bacterial load. By the time the whole piece is thawed, the exterior has been in the danger zone for hours.

Yes, plenty of people have done this for decades without getting sick. Luck is a real variable in food safety. So is the temperature of your kitchen, the type of meat (poultry carries considerably more risk than beef), and whether anything else went slightly wrong that day. The cold water method takes the same amount of time and eliminates the variable entirely. There is no good reason to choose the counter.

🔄 The Honest Option: Pivot

Sometimes the most dignified move is to change the plan entirely.

Eggs. Pasta with whatever’s in the pantry. A quesadilla. The omelet that takes eight minutes and uses what’s already thawed. These exist for exactly this moment.

The frozen meat goes into the refrigerator tonight and thaws slowly and safely overnight — the gold standard method that preserves quality and requires exactly zero attention. It becomes tomorrow’s dinner. Tonight is a pivot night, and pivot nights have saved more dinners than any thawing method ever invented.

The freezer is not a failure. It’s inventory. Work with what you’ve got.

🛒 Gear That Helps

  • ThermoWorks Thermapen instant-read thermometer — Cooking from frozen requires a thermometer even more than cooking from thawed. The exterior looks done long before the interior is safe. Ten seconds and you know.
  • Large stainless mixing bowl — Wide and deep enough to fully submerge most proteins for the cold water method. The right bowl makes the right method easy.
  • Ziploc gallon freezer bags — For resealing proteins before the cold water soak if the original packaging has been opened. Keeps the water out and the situation sanitary.
  • Instant Pot Duo 7-in-1 — Pressure cooks chicken from frozen in about 25 minutes. The consistent, reliable, set-it-and-walk-away solution to the forgotten defrost. If this problem happens to you regularly, this is the answer.

As an Amazon affiliate, I earn from each qualifying purchase. Thank you for supporting TumbleBump.

✨ The Short Version

You have four legitimate options and one illegitimate one. Cook it frozen, cold water thaw it, carefully microwave defrost it, or pivot to something else entirely. The counter is not on the list.

Every method works when you understand the logic behind it. The logic is always the same: keep the meat out of the danger zone as much as possible and get it to a safe internal temperature before it hits the plate.

The freezer forgot nothing. You just need a plan B. Now you have four of them.

📚 Related Reads

TumbleBump is part of the John D. Reinhart content family. Writer, illustrator, videographer, and accidental filmmaker — find the whole story at JohnDReinhart.com.

26011

©2026 John D Reinhart/TumbleBump.com – all rights reserved
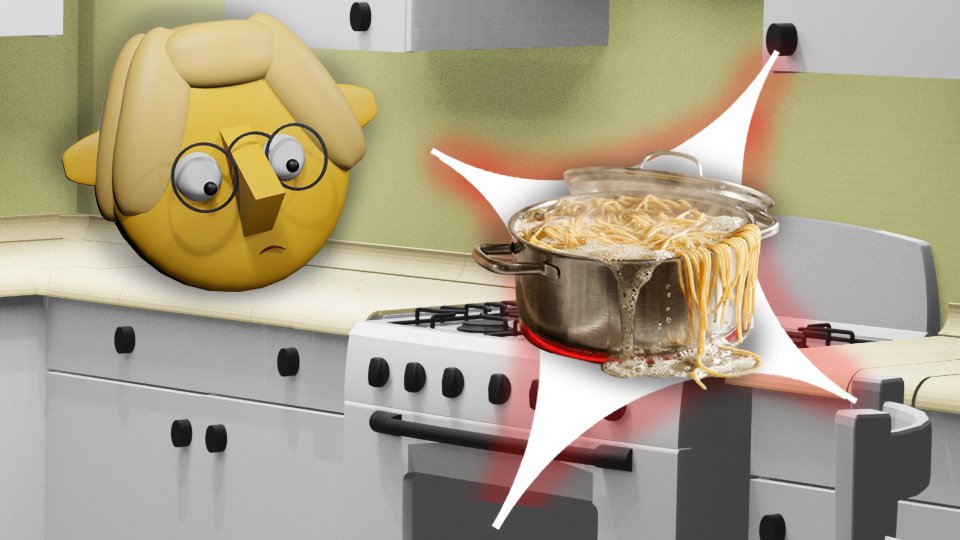
Why the Spaghetti Water Is Running All Over the Stove

The pot boils over. The starchy water is on the burner, on the counter, possibly on you. This is annoying, avoidable, and has a simple physics explanation — plus three fixes that take zero extra effort.

Pasta water boiling over is one of those small kitchen disasters that happens with enough regularity to feel like a personal failing. It isn’t. It’s a physics phenomenon with a specific cause and specific, simple preventions.

Why It Happens

When water boils, steam bubbles form at the bottom of the pot and rise to the surface, where they burst. This is the rolling boil you’re aiming for when cooking pasta. On its own, water bubbles and boils without drama.

But pasta releases starch into the water as it cooks. Starch dramatically increases the water’s surface tension and viscosity. When a starchy bubble of pasta water reaches the surface, instead of bursting cleanly, it stretches — forming a thick, stable foam that doesn’t immediately collapse. The foam builds on itself, rises to the rim, and then, with the confidence of something that has nothing to lose, goes over the edge.

The more pasta you’re cooking, the more starch in the water, the more foam. Smaller pots with less headroom provide less buffer. High heat maintains continuous vigorous boiling that generates foam faster. These are the conditions for a stovetop flood.


Fix One: Use a Bigger Pot

The single most effective prevention is a pot with more volume and more headroom above the water level. A pasta boilover almost never happens in a 10-quart pot with six quarts of water — there’s simply too much room for the foam to build before it reaches the rim.

A 6-quart pot with five quarts of water is at much higher risk. Fill it less, or get a bigger pot.


Fix Two: Lower the Heat Once Boiling

Boilover requires vigorous, sustained boiling to generate foam faster than it can disperse. The moment you add pasta and the water returns to a boil, you can reduce the heat slightly — from high to medium-high — and maintain an active, rolling boil without the maximum foam generation of full-blast heat.

The pasta cooks at essentially the same rate. The foam risk drops significantly.


Fix Three: The Wooden Spoon Trick (And Why It Works)

Place a wooden spoon across the top of the pot. When the foam rises and contacts the wood, it breaks the surface tension of the bubbles and collapses the foam. This actually works, and the reason is interesting: the dry wood provides a high surface-energy surface that preferentially attracts the surfactant molecules in the foam, disrupting their ability to hold the bubble structure together.

The spoon doesn’t prevent boiling — it interrupts the foam before it goes over the edge.

A silicone spoon works less well (too smooth). A wooden spoon with a slightly rough, absorbent surface works best.

Alternative: A boilover preventer disc — a perforated or ridged metal disc placed in the bottom of the pot that creates convection patterns that prevent foam buildup. A low-tech but effective tool for chronic boilover sufferers.


Fix Four: A Little Oil (Minimal Effect, Widely Believed)

Many people add olive oil to pasta water to prevent boiling over. The oil does disrupt foam bubbles at the surface — so it has a small preventive effect. However, the amount of oil you’d need to add to reliably prevent a boilover would be impractical, and more importantly, it coats the pasta and prevents sauce from adhering.

The oil in pasta water is mostly a myth as a boilover prevention and is actively counterproductive for sauce adhesion. Skip it.


When It Happens Anyway

Turn down the heat immediately. The foam collapses almost instantly when the vigorous boiling stops, and the spilled water can be wiped from the burner quickly while the pasta continues cooking at reduced heat.

The burner grates and drip pans: these collect the spilled starch water and, once it dries, become a baked-on mess that is annoying to clean. The fix: wipe or rinse immediately while it’s still liquid. Dried starchy residue requires soaking and scrubbing. Wet starchy residue requires a paper towel.


🛒 Gear Worth Having

As an Amazon affiliate, I earn with each qualified purchase. Thank you for supporting TumbleBump. 


Recommended Reads


Posted on TumbleBump | OOPS Category

TumbleBump is part of the John D Reinhart content family. Writer, illustrator, videographer, and accidental filmmaker — find the whole story at JohnDReinhart.com.

26001

©2026 John D Reinhart/TumbleBump.com – all rights reserved

Eggs: Nature’s Stickiest Oops

You dropped an egg. Now what? TumbleBump walks you through the cleanup — before it dries, after it dries, and the horror of eggshell archaeology.

You didn’t mean to drop it. Nobody means to drop it. One second it’s in your hand, the next it’s on the floor — and somehow also on the cabinet door, the side of the stove, and your left sock. Eggs are not just food. They are a cleanup event waiting to happen.

The good news: egg mess is very manageable. The bad news: only if you know the rules. Break the rules and you’re cementing that yolk to your hardwood floor for the foreseeable future.

🚨 Rule One: Cold Water Only

This is the one that gets people. Hot water feels right — it’s how you clean everything else. But egg white is protein, and protein sets with heat. Pour hot water on a fresh egg mess and you’ve just cooked it onto your floor. Congratulations, you’ve made a very flat, very stuck omelet.

Cold water keeps the proteins loose and easy to wipe. Always start cold.

⚡ Fresh Egg: Act Fast

Fresh egg is your best-case scenario. Scoop up the bulk of it with a paper towel or — pro move — a spatula. Then cold water and a wipe. Done in under a minute if you’re on it. The enemy is distraction. The egg does not wait for you to finish your coffee.

😬 Dried Egg: Now You’ve Done It

Dried egg is a different creature entirely. It bonds to surfaces with impressive commitment. Your move: rehydrate it. Lay a cold, damp cloth over the area and let it sit for a few minutes to soften the proteins back up. Then scrape gently — a plastic scraper or the edge of a credit card, not metal — and wipe clean. Repeat if needed.

On dishes and pans: soak in cold water first, always. A dried-egg pan that went straight into a hot rinse is a pan you’ll be scrubbing for a while.

🔍 The Shell Fragment Situation

Shell in the bowl is its own challenge. Chasing a slippery fragment around a bowl of raw egg with a spoon is a test of patience and humility. The trick: use a larger piece of the shell itself to scoop it out. Shell attracts shell. It sounds like folk wisdom but it actually works — the jagged edge catches the fragment cleanly where a smooth spoon just nudges it around.

🍳 Cast Iron: Special Mention

If you drop egg on a seasoned cast iron pan, do not panic and do not reach for soap. Wipe it out while it’s still warm with a paper towel. If it’s dried, a brief soak — cold water, two minutes max — and a gentle scrub with a stiff brush. Soap only as a last resort, and re-season immediately after. Your grandmother’s cast iron has survived worse than this.

🛒 Gear Worth Having

As an Amazon affiliate, I earn from qualifying purchases. Thank you for supporting Tumblebump.

Related Reads

Posted on TumbleBump/Category: OOPS

TumbleBump is part of the John D Reinhart content family. Writer, illustrator, videographer, and accidental filmmaker — find the whole story at JohnDReinhart.com.

26000

©2026 John D Reinhart/TumbleBump.com – all rights reserved
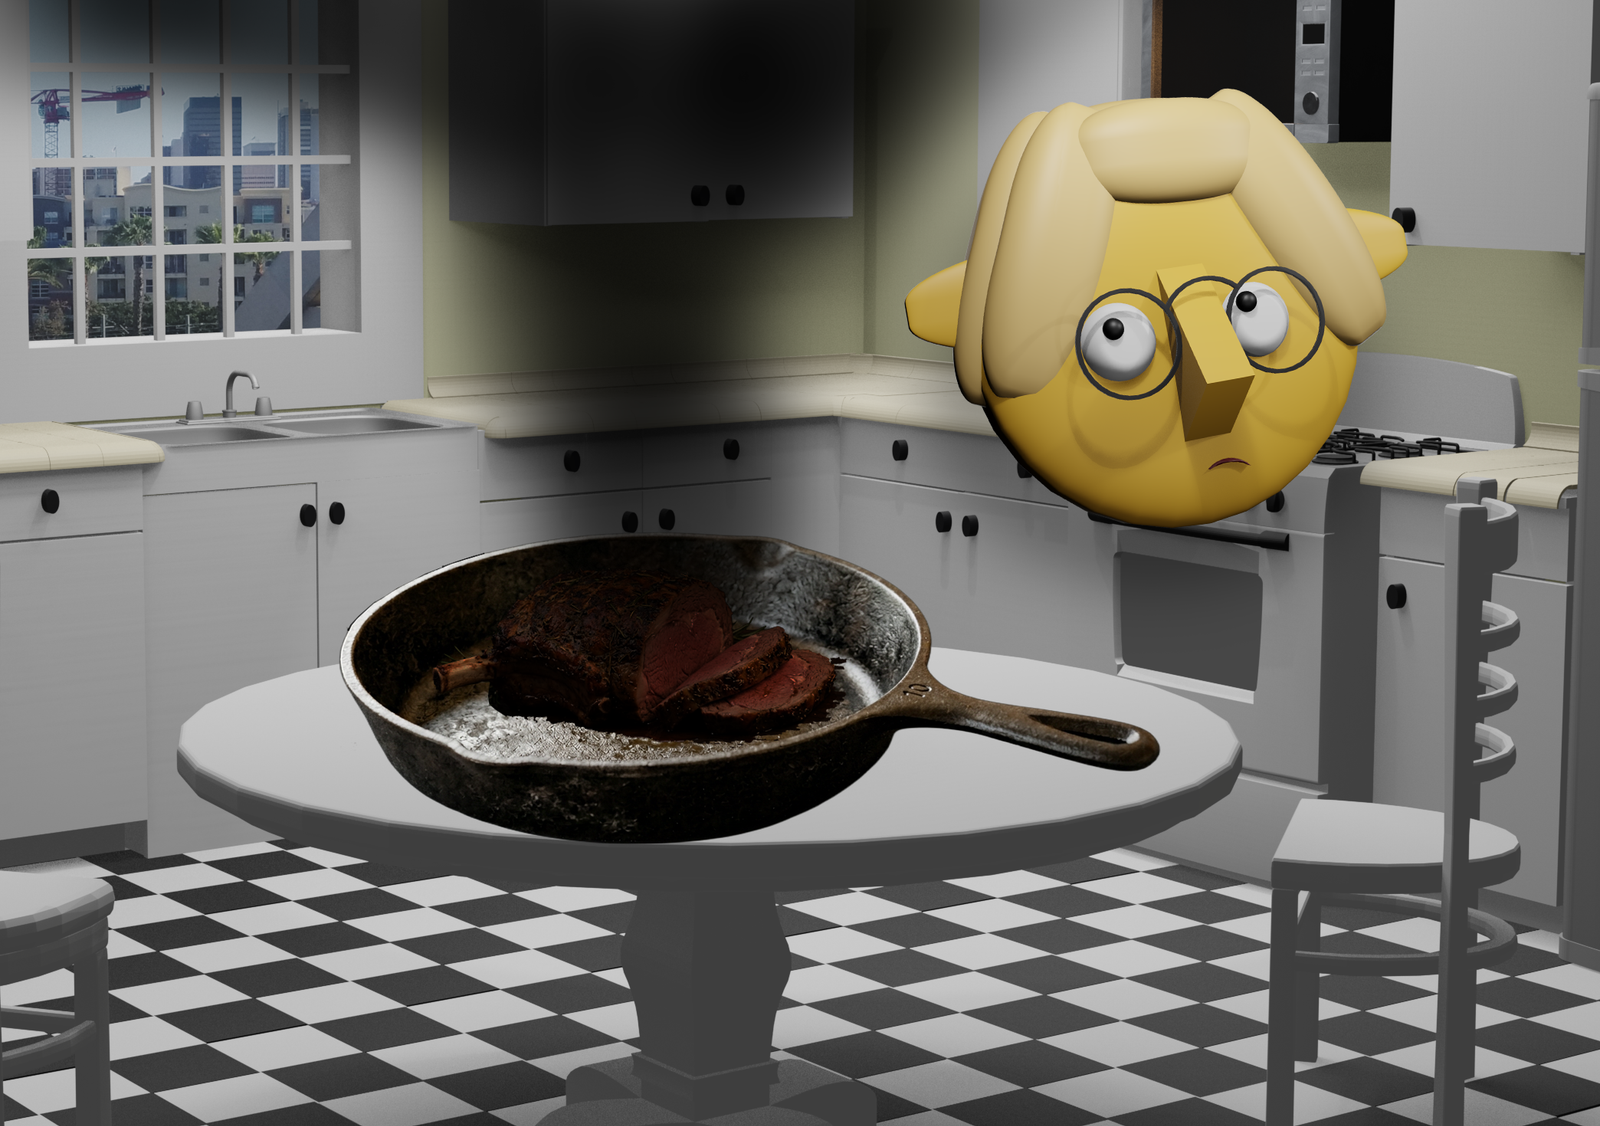
Is It Burnt or “Cajun”? The Art of Scraping

There’s a meaningful difference between “charred and flavorful” and “burnt and bitter” — and knowing which side of the line you’re on determines whether dinner is rescued or restarted. Here’s how to assess the situation, when scraping saves the day, and when to accept defeat.

Every cook who has ever been distracted by a phone call, an interesting podcast moment, or just a momentary lapse in kitchen attention has produced something darker than intended. The question that follows — is this ruined, or is this just very well-charred? — is one of cooking’s more nuanced judgments.

Here’s the framework for making it.


The Difference Between Charred and Burnt

Charred (good): The Maillard reaction has done its work, flavors have concentrated and caramelized, and the surface has developed a dark crust with complex, slightly bitter, deeply savory notes. Think about it: the dark edges of a roasted vegetable, the blackened crust on a seared steak, the browned bottom of a well-made frittata, the dark bits on a grilled pepper. This is flavor.

Burnt (bad): The food has gone past the Maillard reaction into carbonization — carbon compounds that taste acrid, bitter, and deeply unpleasant. The flavor is no longer complex; it’s just bitter. This is not a flavor profile. This is a mistake.

The sensory test: smell it. Charred food smells like roasted, complex, caramelized depth. Burnt food smells like an ashtray. Your nose is reliable here in a way it isn’t always with food safety questions.


The Scraping Assessment

When something is darker than intended, the first move is the scraping assessment — figuring out whether the damage is surface-level or has penetrated into the food.

Surface-only charring (salvageable): The dark layer is a crust on the exterior of the food, but the interior is cooked correctly. This is the most common situation and almost always recoverable. The fix is physical: scrape or cut away the offending layer.

How to scrape effectively: – For bread and baked goods: use a serrated knife or box grater held over the sink. The charred crust grates off easily and the interior is untouched. – For the bottom of a pan of roasted vegetables: use a spatula to flip and assess. If only the bottom is dark, serve them dark-side-down or toss to redistribute. – For a piece of meat: a paring knife can shave off the charred exterior. – For fish: the charred skin usually peels away cleanly. – For the bottom of a pan sauce or soup: see the burnt pan sauce section below.

Penetrated bitterness (harder to salvage): If the food tastes uniformly bitter throughout — not just on the charred surface but all the way into the interior — the burnt flavor has migrated through the whole piece. This is more common with thin foods (burnt garlic, burnt onion, thin fish fillets) and with foods that were charred long enough for the bitter compounds to diffuse.


The Special Case: Burnt Garlic

Burnt garlic is its own category and deserves its own warning. Garlic burns quickly (within seconds in a too-hot pan), and burnt garlic is acrid and deeply pervasive. Unlike meat or vegetables where the char is surface-level, burnt garlic infuses its bitterness into whatever oil or liquid surrounds it.

The rule with burnt garlic: start over. Remove everything from the pan, wipe it clean, and begin again. The two minutes you lose is better than an entire dish that tastes of burnt garlic. This is the one burnt situation where scraping almost never works.


The Burnt Pan Sauce or Soup

If the bottom of a pot of soup or sauce has burnt, move quickly:

  1. Stop stirring immediately. Stirring incorporates the burnt bottom into the rest of the dish.
  2. Pour the liquid — without scraping — into a fresh pot. Tip carefully, leaving the burnt bottom layer behind.
  3. Taste the transferred liquid. If the bitter flavor has migrated significantly, there’s limited recourse. If it’s mild, adding a potato (which absorbs off-flavors as it simmers) or a piece of bread can help.
  4. Do not go back for “a little more.” The remaining amount in the old pot is not worth the flavor risk.

When to Accept Defeat

Some situations are genuinely unrecoverable:

  • Burnt garlic or onion that has flavored the entire base of a dish
  • Bread or baked goods that are burnt all the way through (not just the crust)
  • Fish or thin proteins that are uniformly bitter
  • Anything that smells like an ashtray when you taste it

The rule: if the dominant flavor is bitterness, not charred complexity, the dish isn’t salvageable by scraping. Cut your losses. Order delivery, make eggs, or start again. A meal that takes 30 additional minutes is better than one that tastes like regret.


🛒 Gear Worth Having

As an Amazon affiliate, I earn from qualifying purchases.


Posted on TumblleBump | OOPS Category

TumbleBump is part of the John D Reinhart content family. Writer, illustrator, videographer, and accidental filmmaker — find the whole story at JohnDReinhart.com.

26007

©2026 John D Reinhart/TumbleBump.com – all rights reserved
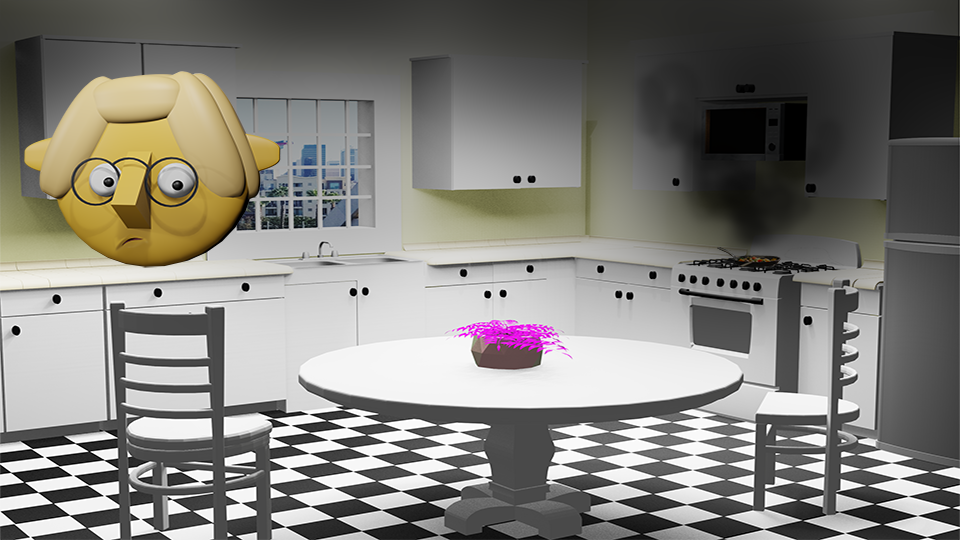
Stop the Screaming Smoke Alarm: A Guide to Oil Smoke Points

Is your smoke alarm the most active member of your household? Stop waving the dish towel and start mastering heat. Learn why oils “break,” how to pick the right fat for the job, and how to sear a steak without calling the fire department.

We’ve all been there. You’ve finally pushed aside the mountain of pizza boxes, donned your “Kiss the Cook” apron, and decided to sear a steak like a pro. You turn the burner to “High,” add a generous glug of extra virgin olive oil, and — BEEP. BEEP. BEEP.

Suddenly your kitchen looks like a London fog, the dog’s hiding under the sofa, and you’re standing on a rickety chair waving a damp dish towel at a shrieking plastic disc on the ceiling.

Welcome to the smoke point. It’s the culinary version of a Blue Screen of Death, and it happens when your cooking fat gives up the ghost.

💨 What a Smoke Point Actually Is

Every oil or fat has a specific temperature where it stops being a cooking medium and starts becoming a fuel source for your local fire department. At that temperature, the oil begins to break down, releasing a bluish smoke and a bitter chemical called acrolein. Hit the smoke point, and your food won’t taste charred — it’ll taste like a burnt radial tire.

🗺️ The TumbleBump Fat Map

To keep the alarm silent, match the oil to the heat — think of it like choosing the right tires for a car. The low-heat pair, butter and extra virgin olive oil, both smoke under 350°F; they’re for flavor, not fire, and belong in low-heat sautéing or finishing a dish rather than a hard sear. The daily drivers — canola, vegetable, and coconut oil — handle 350°F to 400°F comfortably, covering weeknight chicken and most everyday medium-high cooking. The heat seekers — avocado oil, grapeseed oil, and ghee — clear 450°F, and they’re the only oils invited to the party when you want a genuine steakhouse crust.

🧪 The Why Behind the Burn

Cooking oil is a collection of molecular chains, and some oils are refined — processed to remove impurities like minerals, enzymes, and proteins — while others, like butter and extra virgin olive oil, are unrefined and still carry those tiny proteins and plant particles. Delicious, but heat-sensitive, like dry leaves in a forest that catch fire almost immediately. Push oil past its limit and the heat energy literally rips those molecular chains apart — thermal degradation — turning the oil into gas (smoke) and solid carbon at once. That’s why scorched oil feels sticky or gummy on the pan: a small chemistry experiment that went south.

🚨 If the Smoke Starts Right Now

Slide the pan off the burner to a cool spot rather than lifting it and walking it toward the sink — spilling 400-degree oil is a far bigger emergency than a smoky kitchen. Open a window or door and put the stove fan on its highest setting. Once things calm down, dump the burnt oil into a heat-proof container, never the plastic trash can, wipe the pan, and start fresh with an oil actually rated for the heat you need.

🍳 Getting Back to Dinner

Let the pan cool for a minute or two, then wipe out the failed oil with a wad of paper towels — never rinse a hot pan with cold water, since the thermal shock can warp it into a very shallow bowl. Before it goes back on the burner, dial the heat down; most home stoves run hotter than people expect, and medium-high is usually the actual sweet spot for nearly everything. If butter or EVOO was the original culprit, the hybrid method solves it: add a neutral oil like canola first, then drop the butter in — the oil stabilizes it and buys a real buffer before things smoke again. And trust a sizzle test over the dial: flick a drop of water into the pan. No reaction means too cold, a gentle sizzle means it’s ready, and violent popping means dial it back before you’re headed to Smoke Town a second time.

🧽 Rescuing a Scorched Pan

Sprinkle a generous layer of baking soda over the scorched areas — don’t be stingy, baking soda is cheap and your elbow grease isn’t. Add just enough water to turn the powder into something like toothpaste; if it’s runny, there’s too much water, since you want it to sit and dwell on the pan’s vertical sides. Walk away for a few minutes and let the alkaline paste break the bond between the carbonized oil and the metal. Scrub with a non-scratch sponge — the paste turning grey or brown is the burnt oil actually leaving the pan. Rinse with warm water and dry immediately.

🛒 Gear Worth Having

Avocado Oil, Refined — A genuine heat-seeker with a smoke point over 500°F — the one to reach for the moment a real sear is the goal.

Infrared Surface Thermometer — Reads a pan’s actual surface temperature in seconds, which beats the sizzle test for anyone who wants a number instead of a guess.

Bar Keepers Friend Cookware Cleanser — The baking soda rescue’s more powerful cousin, for the scorch marks that don’t fully let go on the first try.

As an Amazon affiliate, I earn from qualifying purchases. Thank you for supporting TumbleBump.

📖 Related Reads

TumbleBump is part of the John D Reinhart content family. Writer, illustrator, videographer, and accidental filmmaker — find the whole story at JohnDReinhart.com.

26005

©2026 John D Reinhart/TumbleBump.com — All rights reserved