There it is again.
“Sauté the onions.” “Sauté the garlic.” “Sauté the vegetables until softened.” Every recipe in the world assumes you know what this means, then moves cheerfully along to the next instruction while you stand at the stove wondering exactly what you’re supposed to be doing.
Here’s what you’re supposed to be doing.
Sautéing is cooking food quickly in a small amount of fat over relatively high heat, moving it around occasionally so it cooks evenly without burning. That’s the whole definition. It’s fast, it’s simple, and once you understand why it works, you’ll recognize it as the foundation of roughly half of all cooking.
There are approximately 7 gazillion YouTube videos that will show you the step-by-step of sautéing specific ingredients. We encourage you to go watch them — that’s exactly what they’re there for. We’re here to explain the why, which is the part that makes everything else make sense.
🔥 Why High Heat?
Heat is what transforms food. Raw onion is sharp and eye-watering. A properly sautéed onion is soft, sweet, and fragrant — something chemically different from what went into the pan. That transformation happens because of heat, and specifically because of two processes working together.
The Maillard Reaction
When food hits a hot pan, proteins and sugars on the surface react with each other and produce hundreds of new flavor compounds. This is called the Maillard Reaction, and it’s responsible for the golden color and the deeply savory smell that makes a kitchen smell like someone who knows what they’re doing lives there.
High heat gets the surface of the food hot enough to trigger this reaction quickly, before the inside overcooks. That’s the sweet spot sautéing is designed to hit.
💡 Low heat in a sauté pan doesn’t sauté — it steams. The food releases its moisture, sits in a puddle of its own liquid, and turns gray and limp instead of golden and flavorful. If the pan isn’t sizzling when the food goes in, the heat isn’t high enough.
The Fat
A small amount of fat — olive oil, butter, or both — serves several purposes at once. It conducts heat evenly across the pan surface, prevents sticking, adds its own flavor, and helps the Maillard Reaction happen by keeping the surface of the food in consistent contact with the heat.
A small amount means enough to coat the bottom of the pan with a thin, even layer. Not a pool. Not a dry pan. Just enough.
🍳 The Pan Matters
Not every pan sautés equally. The right pan makes everything easier.
What You Want
- A wide, flat bottom — so food has room to spread out and make contact with the heat rather than piling up and steaming each other.
- A pan that holds heat well — cast iron and stainless steel are the workhorses. They get hot, stay hot, and recover quickly when cold food goes in.
- The right size — too small and the food crowds together and steams. Too large and the fat burns in the empty spaces. A 10 or 12-inch skillet handles most sauté jobs comfortably.
What You Don’t Want
- A cold pan. Always heat the pan before adding fat, and heat the fat before adding food.
- A crowded pan. If food is piled on top of itself, it steams instead of sautés. Cook in batches if needed.
- A nonstick pan for high-heat sautéing. Nonstick coatings don’t like very high heat and won’t give you the same browning results.
🍳 A cast iron skillet is the ideal sauté pan for most home kitchens. It gets screaming hot, holds that heat beautifully, goes from stovetop to oven without complaint, and lasts approximately forever. If you only own one pan, make it this one.
🧅 What Sautéing Does to Different Foods
Onions
Raw onion is pungent and sharp. Sautéed onion becomes soft, translucent, and gently sweet as its sugars develop. This is why nearly every savory recipe starts with sautéed onion — it builds a flavor foundation that everything else sits on top of.
A few minutes over medium-high heat produces softened onion. Longer over medium heat produces caramelized onion, which is a different and deeply wonderful thing.
Garlic
Garlic sautés faster than almost anything else — thirty seconds to a minute in a hot pan is usually enough. It goes from raw and sharp to golden and fragrant remarkably quickly, and from golden and fragrant to burned and bitter just as quickly. Watch it. Don’t walk away.
Vegetables
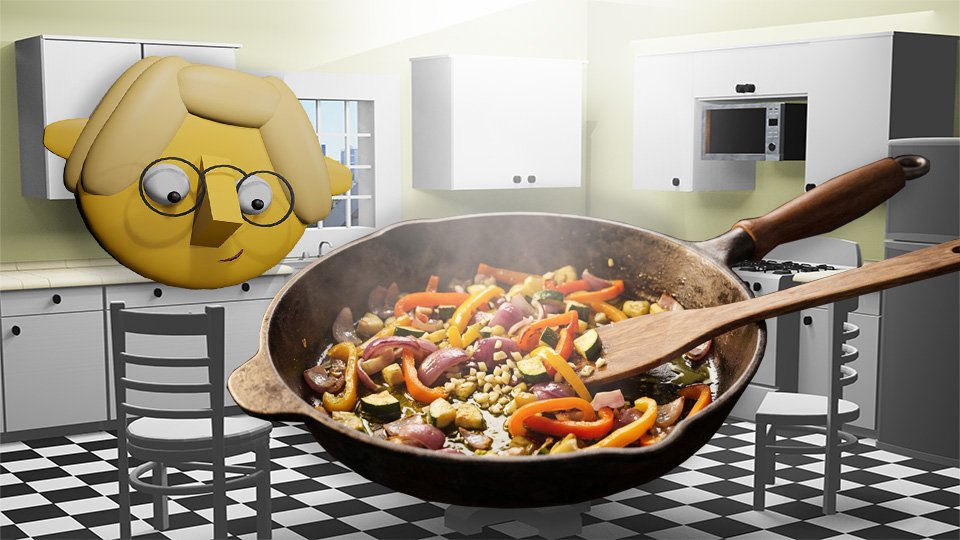
Most vegetables benefit enormously from a quick sauté. Zucchini, peppers, mushrooms, spinach, green beans — high heat, a little oil, keep them moving, and they go from raw to tender-with-a-little-color in just a few minutes. Each vegetable has its own timing, which is where those YouTube videos become your friend.
Protein
Chicken, shrimp, thin-sliced beef, scallops — sautéing gives protein a golden, flavorful crust on the outside while cooking it through quickly. The key is not moving it too soon. Let it sit in contact with the pan long enough to release naturally, then turn it. If it’s sticking, it’s not ready to flip.
✅ The food will tell you when it’s ready to move. If it resists, wait. If it releases cleanly, turn it. This applies to almost everything you’ll ever sauté.
🌡️ The Heat Question
Recipes that say “medium-high heat” are giving you a starting point, not a law. Every stove is different. Electric, gas, induction — they all behave differently, and the same dial setting produces different results on different equipment.
The real signal is the pan and the food, not the dial:
- Fat should shimmer and move easily when the pan is ready — not smoke, not sit still
- Food should sizzle immediately when it hits the pan — not silence, not violent spitting
- The pan should stay hot when food goes in — if it goes quiet and cold, the heat is too low or the pan is too crowded
🔥 If nothing is sizzling, something is steaming. Turn up the heat, give the pan a moment to recover, and try again. A little sizzle is your friend. Silence is the enemy of a good sauté.
🛒 What to Get
The Essentials
- Lodge 10-Inch Cast Iron Skillet — The gold standard sauté pan for home cooks. Gets hot, stays hot, and produces better browning than almost anything else at any price.
- Lodge 12-Inch Cast Iron Skillet — For larger batches. More room means less crowding, which means better sautéing results across the board.
- Stainless Steel Skillet 10-Inch — A lighter alternative to cast iron with excellent heat distribution. All-Clad and Made In are the benchmarks.
- Wooden Spoon Set — For moving food around the pan without scratching it. A good wooden spoon is one of the most useful tools in the kitchen.
- Splatter Screen — High-heat cooking with fat produces splatter. A splatter screen keeps it in the pan and off your stovetop. Underrated kitchen purchase.
Nice to Have
- Tongs (Locking, 12-Inch) — For turning proteins and tossing vegetables without losing control of them. The most useful tool you’ll reach for constantly.
- Instant-Read Thermometer — For proteins especially — takes the guesswork out of done vs. not done. Worth every penny.
As an Amazon Associate, I earn from qualifying purchases. Thank you for supporting TumbleBump.
🔗 Related Reads
- Seven Dishes Every Beginning Cook Should Make First
- The Maillard Reaction: Why Food Tastes Better Browned
- The Is It Done? Checklist
TumbleBump is part of the WhistleBump group – find the rest of the family at WhistleBump.com.
21016
©2026 John D Reinhart/TumbleBump.com – all rights reserved